Hey my friends.
Some months ago (and haven't found the reason yet) my internal HxC SD stopped working (LCD screen wasn't working and no sound was coming from buzzer.
After removing everything, I made a continuity test on whole board (comparing it with another HxC SD that I have) but still couldn't find anything wrong. HxC SD gets voltage but something is shortcircuiting and gives issues but I didn't have enough appetite atm to troubleshoot it more.
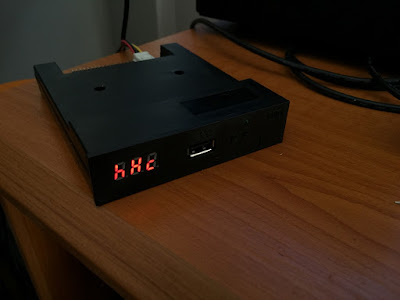
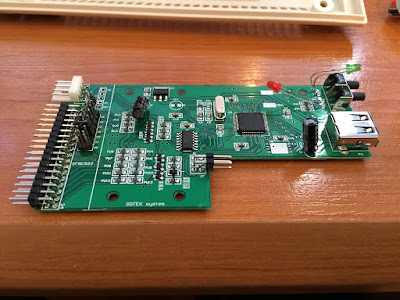
After seeing about Gotek and HxC's firmware adaptation by Jeff, I decided to give it a go :)
I ordered 2x Goteks (one in black and one in grey) and after getting the HxC licence from Jeff, I flashed both replacing the Cortex firmware.
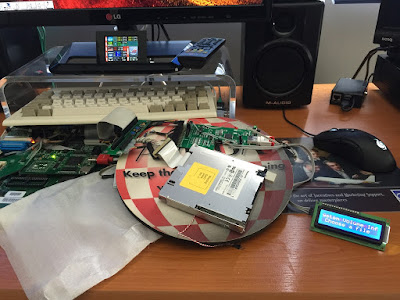
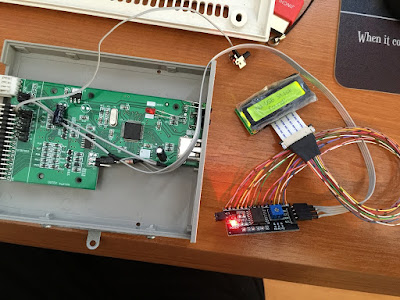
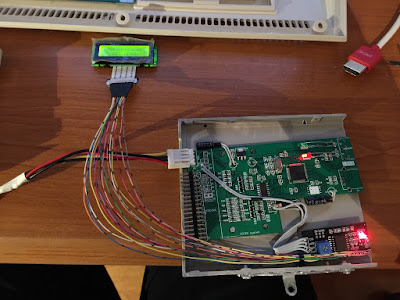
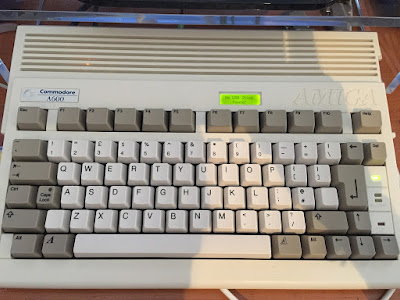
Now it was time to give a spin on attaching a test 16x2 LCD screen (normal size) and an extra button to see if firmware was working as intended and Presto! The extra cheap I2C controller I got from eBay works lovely :)
In order to give a try on a test mini LCD screen I had once more to wire carefully from the ribbon connector to the I2C module (irritating job but someone's gotta do it).
After some time of soldering carefully, experiment was successful!
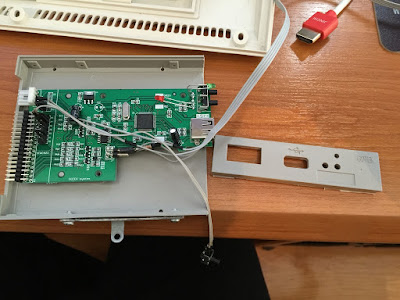
Now it was time for some case and Gotek modding. First of all my dear friend Dremel was used to remove the front fascia from the Gotek case...
Then everything was removed and the mod of slimming down the Gotek in order to be slim enough for the slim floppy drive to attach above it... started :)
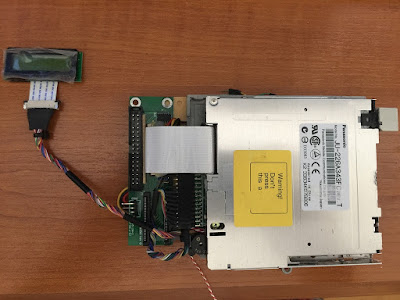
After some time, the 2x caps were placed on the side, the board headers were removed, and also the USB connector and buttons were removed as well.
Good thing is that it still was working so yey! You can see it's more slim now :)
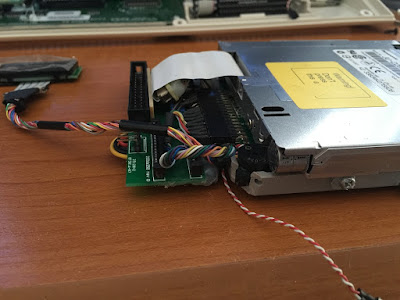
I also made the buzzer mod and glued it in place along with all the other components.
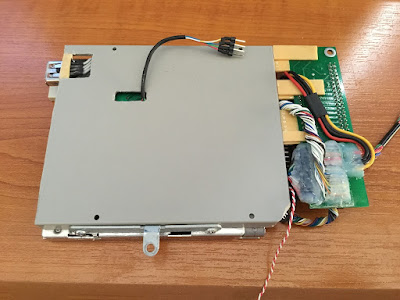
Drive was also attached above the unit carefully after many tried of measuring and testing on the real Amiga. I also attached the extra dual drive adapter in the best position I could.
On this detail view you can see in the lower left corner of the Gotek case, a cut I made with the Dremel in order to put the buzzer as far back as I could (including the needed transistor lol). Buzzer was also Dremeled a little in order for the upper motor of slim floppy to be as back as it should.
Here's the front side with the USB plug re-positioned in order to match the cut on A600 upper shell (where the original eject button was).
Just for means of WTF you can see the lower side of the whole mod (the cable coming underneath is the HxC buttons (Next, Previous, Enter) that are position on the lower A600 shell so I wanted a connector in order to remove the drive whenever I wanted.
The back dual drive adapter is attached via strong glue and some solid plastics
This is a classic overall mod on the internal of the case showing everything.
You can also see now the replacing of my Subway with a RapidRoad USB. Yes, you saw correctly that I'm not using the default mini connector of A604n's clockport as it wasn't easy to fit with the drive combo and also was really close to the HDMI connector of Vampire V2.
custom clockport cable was stripped and made rounded, in order to position RapidRoad a bit more right to the case and everything's now works as it should leaving space to HDMI connector as well!!!
Case closed for now. Everything's is now working as plan once again!!! Phew \o/
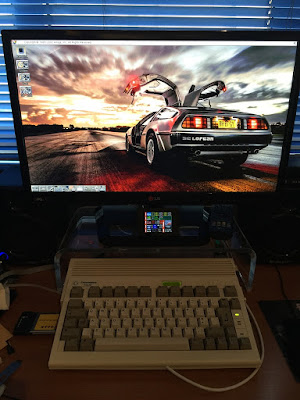
Last but not least, a screenshot of my loved A600 running latest SILVER5 core on Vampire V2 using a resolution of 1360x768 on P96. Awesome stuff indeed!
Stay tuned for more tests in the following days/weeks :)

