Hi my fellow Amigans,
Some days ago, I saw with surprise Ratte's post over A.org about a new Beta firmware from Jens for Indivision ECS and his new version of SuperPlus driver that didn't have the alert box!
I immediately downloaded the appropriate files and after flashing my Indivision ECS with the new version 1.10 and copying the SuperPlus driver over my Devs:Monitors/ drawer it was time to test teh beast :)
Well the results were more than outstanding!!!
I just couldn't believe how awesome it is to have an ECS mode filling the entire screen of my LCD Monitor without the need of overscan stuff!!!
Only problem is that the 800x600 mode with 16 colors on ECS system having an ClassicWB 3.9 installation... despite my numerous of optimizations, wasn't so much enjoyfull.
Whatever I have tried, the ECS chipset is really slow comparing to AGA :(
That was time for desperate measures then... Hopefully Bloodwych's new ClassicWB packs versions gave me the morale boost I needed to start installing everything from scratch! LOL
This time I decided NOT only to not use OS3.9 as a base but only 3.1, but ALSO to not install the latest and more heavy ClassicWB 3.1 versions like AdvSp and Adv.
Instead I decided to go with the ClassicWB 3.1 Full version which has the MagicWB look and feel.
Ofc that installation needed a lot of alterations which were done after spending a lot of time with it. Those were the following:
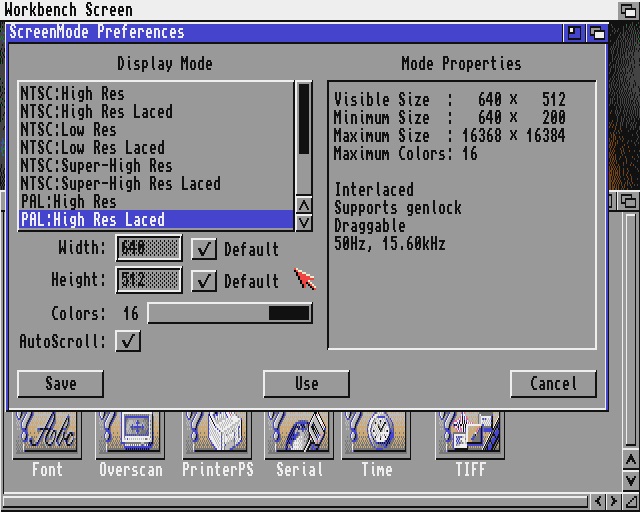
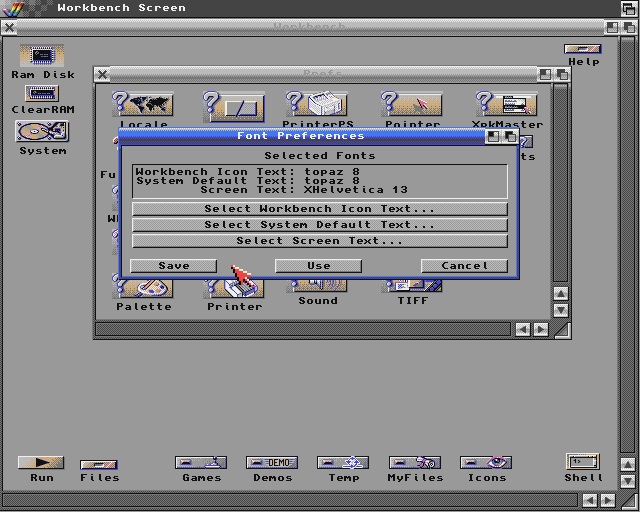
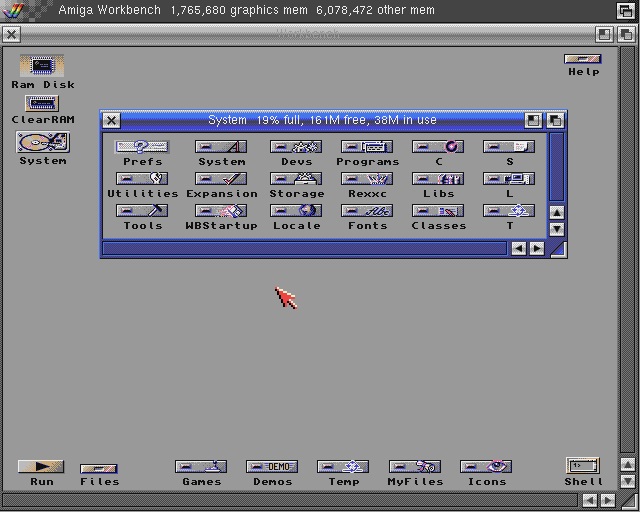
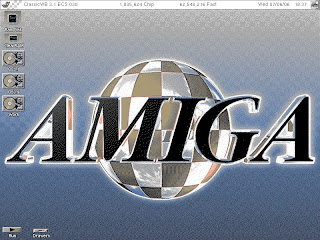
Here you can see a screenshot from the main Workbench screen once system is booting.
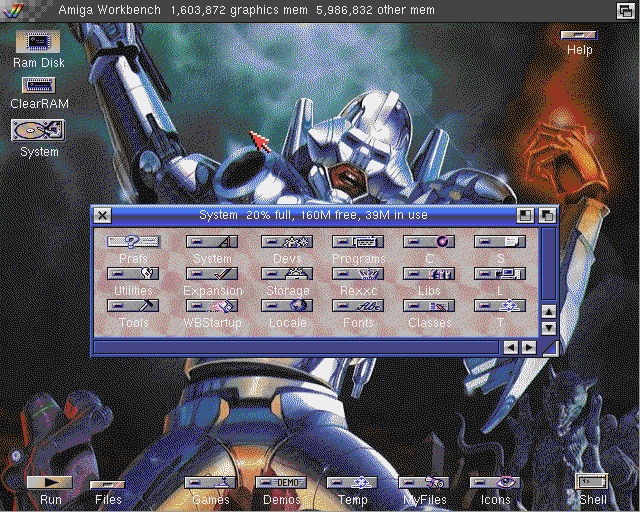
This is the primary partition OS3.1 along with it's contents
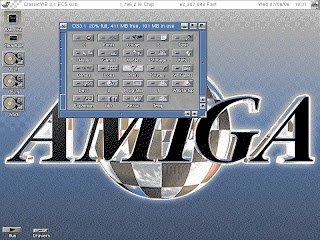
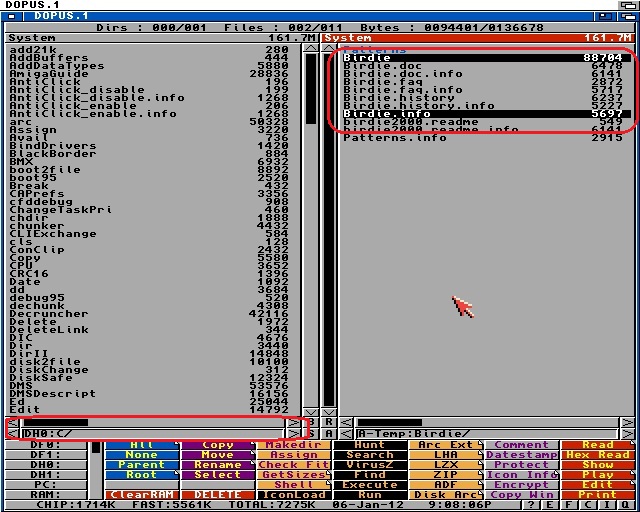
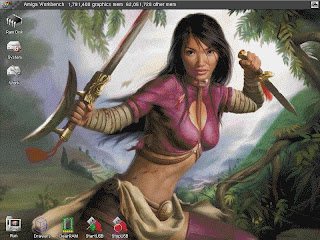
This is the Programs drawer which you can see every single change of icons that I made!

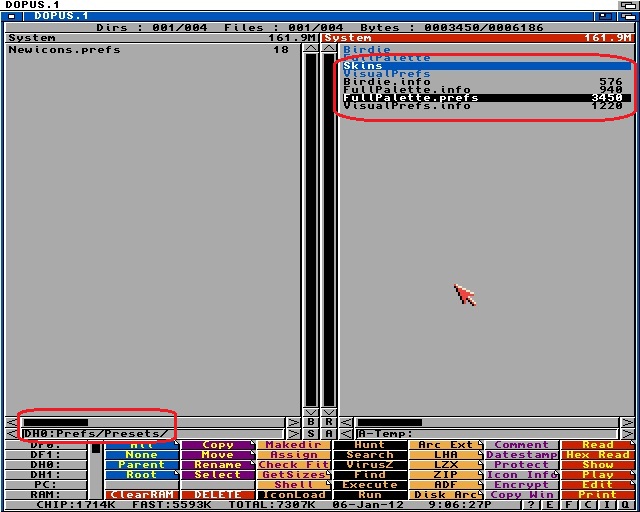
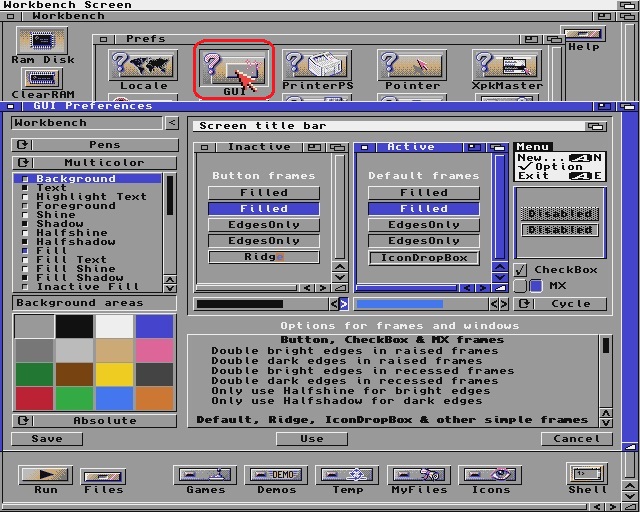
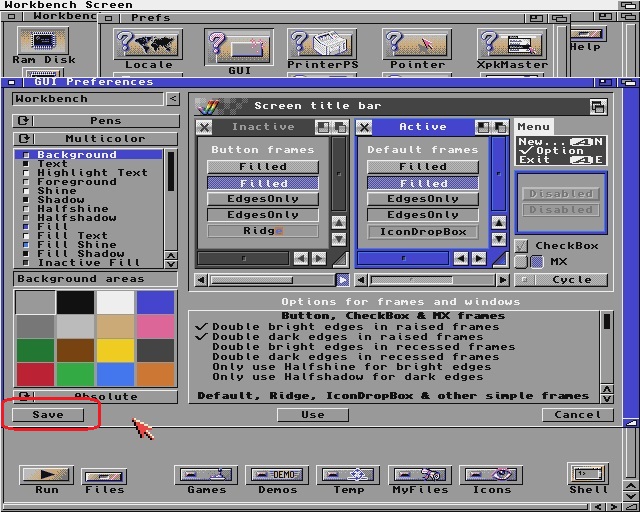
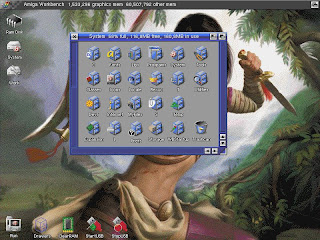
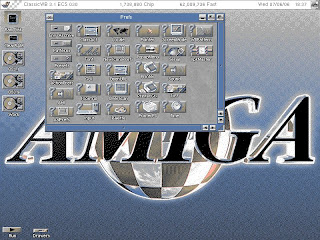
And last but not least, same procedure also in Prefs as well :)
Just for getting a better view, I'm attaching a YouTube video of my A600 booting so you can check the response time and quickness :)
I really love my A600 now... Many stuff to setup yet like Subway, MAS-Player etc... but I'm not in a hurry.
Stay tuned \o/
Some days ago, I saw with surprise Ratte's post over A.org about a new Beta firmware from Jens for Indivision ECS and his new version of SuperPlus driver that didn't have the alert box!
I immediately downloaded the appropriate files and after flashing my Indivision ECS with the new version 1.10 and copying the SuperPlus driver over my Devs:Monitors/ drawer it was time to test teh beast :)
Well the results were more than outstanding!!!


I just couldn't believe how awesome it is to have an ECS mode filling the entire screen of my LCD Monitor without the need of overscan stuff!!!
Only problem is that the 800x600 mode with 16 colors on ECS system having an ClassicWB 3.9 installation... despite my numerous of optimizations, wasn't so much enjoyfull.
Whatever I have tried, the ECS chipset is really slow comparing to AGA :(
That was time for desperate measures then... Hopefully Bloodwych's new ClassicWB packs versions gave me the morale boost I needed to start installing everything from scratch! LOL
This time I decided NOT only to not use OS3.9 as a base but only 3.1, but ALSO to not install the latest and more heavy ClassicWB 3.1 versions like AdvSp and Adv.
Instead I decided to go with the ClassicWB 3.1 Full version which has the MagicWB look and feel.
Ofc that installation needed a lot of alterations which were done after spending a lot of time with it. Those were the following:
- Reduce the number of colors to 8, based on MagicWB colors on Scalos
- Install fonts and reconfigure Workbench and DOpus based on these fonts.
- Convert some demo Backdrops to 640x512 and 800x600 to 8 color format based on MagicWB palette
- Change ALL the iconset of ClassicWB Full since it's based on SmallMagic iconset made for 640x256 PAL resolutions that seem really streched on Hi-Laced or 800x600 ones. That was ONE HECK of a painful procedure since it was made One-By-One!... not for the faint hearted for sure. :S
- Custom recolored and altered SilverBlue skin by Rebel (check white titlebar) in order to match better with the 3.1 look and the MagicWB colors.
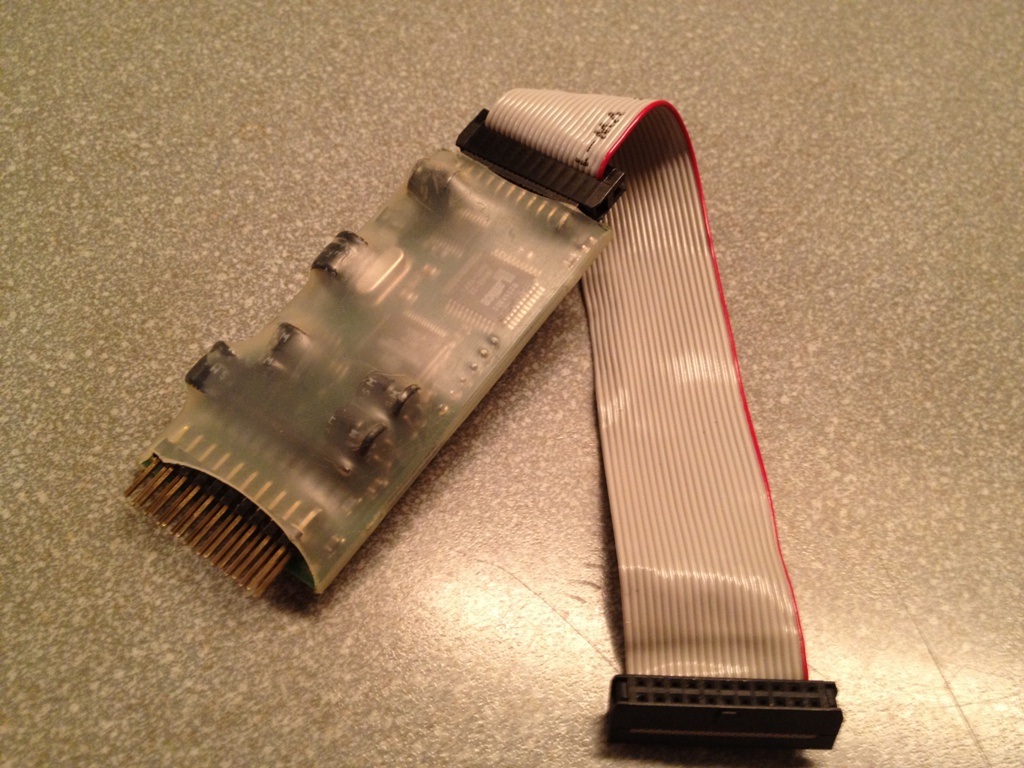
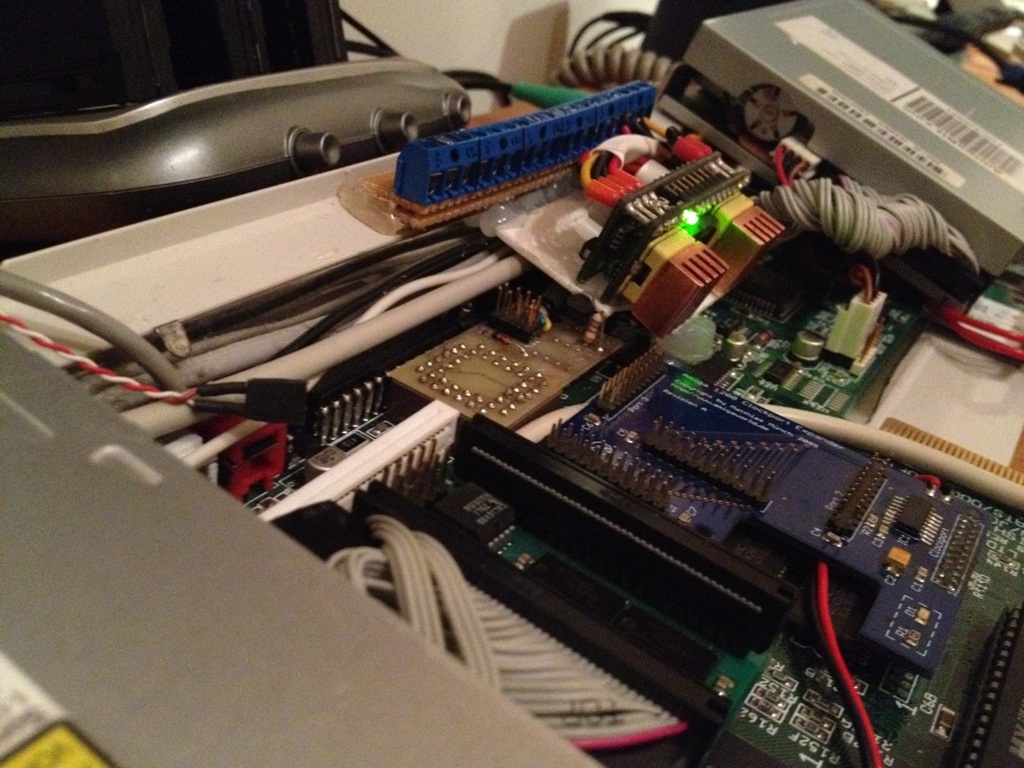
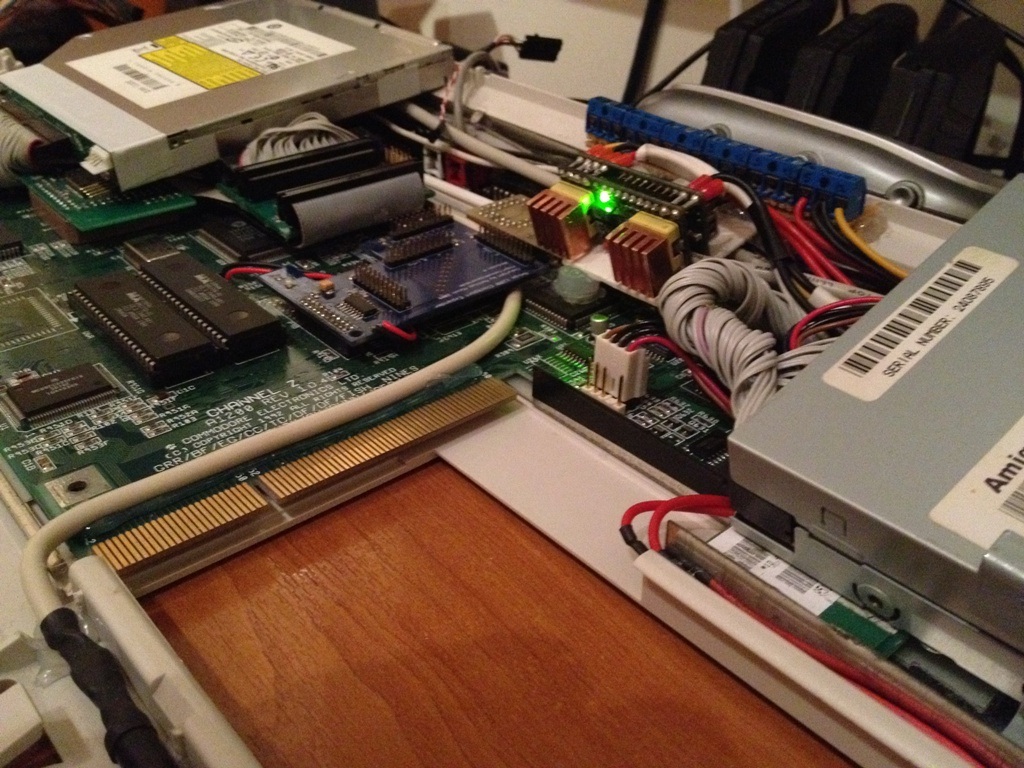
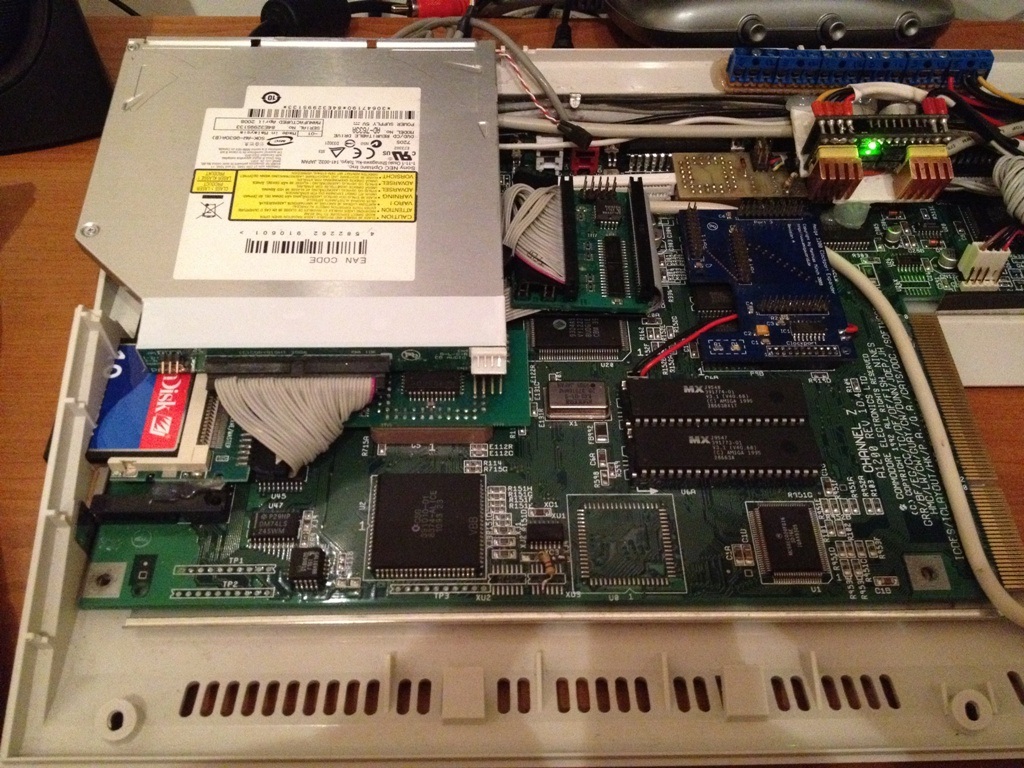
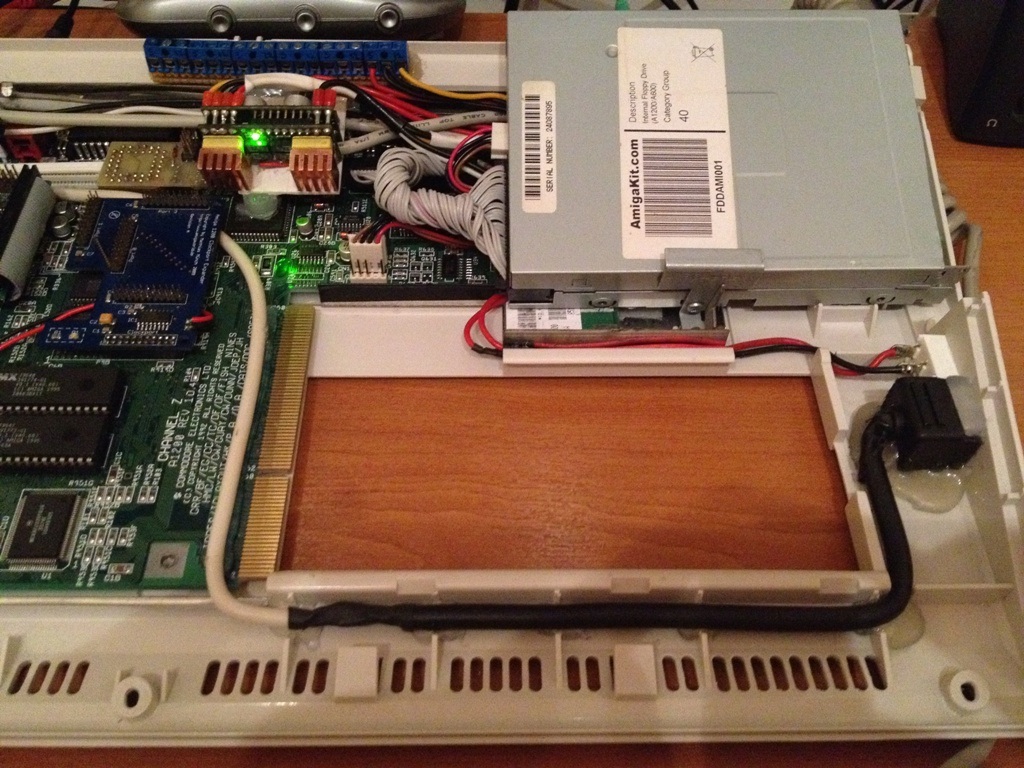
- and finally, a system of mine couldn't be called a system, without some custom Kickstart magic loaded via ACAtune. It contains modules from Kickstart 3.9 along with some other stuff like HRTMon, and newer SCSI.device 44.2 from Doobrey to be able to support my 16GB CF card and big Work (10GB) partition :)
Here you can see a screenshot from the main Workbench screen once system is booting.

This is the primary partition OS3.1 along with it's contents

This is the Programs drawer which you can see every single change of icons that I made!

And last but not least, same procedure also in Prefs as well :)

Just for getting a better view, I'm attaching a YouTube video of my A600 booting so you can check the response time and quickness :)
I really love my A600 now... Many stuff to setup yet like Subway, MAS-Player etc... but I'm not in a hurry.
Stay tuned \o/